Sunday, May 12, 2013

Sealing with Pettit 2018 Clear Sealer


     I was able to grab an hour in the evening to continue with the sealing of the damaged portion of the toerails.  After having removed the damaged portions of the forward toerail, filling and fairing, and staining, I was ready to apply sealer.  Having the sealer on the rails would eliminate the annoying process of suspending a tarp over the work area.  It would also be a significant milestone in the effort to bring the toerail back to 'presentable'.  
     The process for applying the Pettit 2018 Clear Sealer was straight forward, and offered a substantial improvement in overall appearance once applied.  I first lightly wiped the surface of the toerail to be sealed with solvent to remove any surface contaminates.  I then portioned out some of the sealer, reducing with Interlux 2333N.  Using a foam brush, I applied the sealer to the toerail.  When I had covered the entire area requiring sealing, I returned to the starting point for a second coat.
     The look of the rails improved significantly.  The next step will be to lightly sand the cured clear coat, and apply the first coat of Epifanes varnish.  After the first coat of Epifanes goes on this "damaged area" of the toerails, I will begin to incorporate the balance of the toerails in rejuvenating the brightwork. 

Bow shot.


Looking over the bow.


Aft portion of starboard toerail as it transitions into the undamaged section.


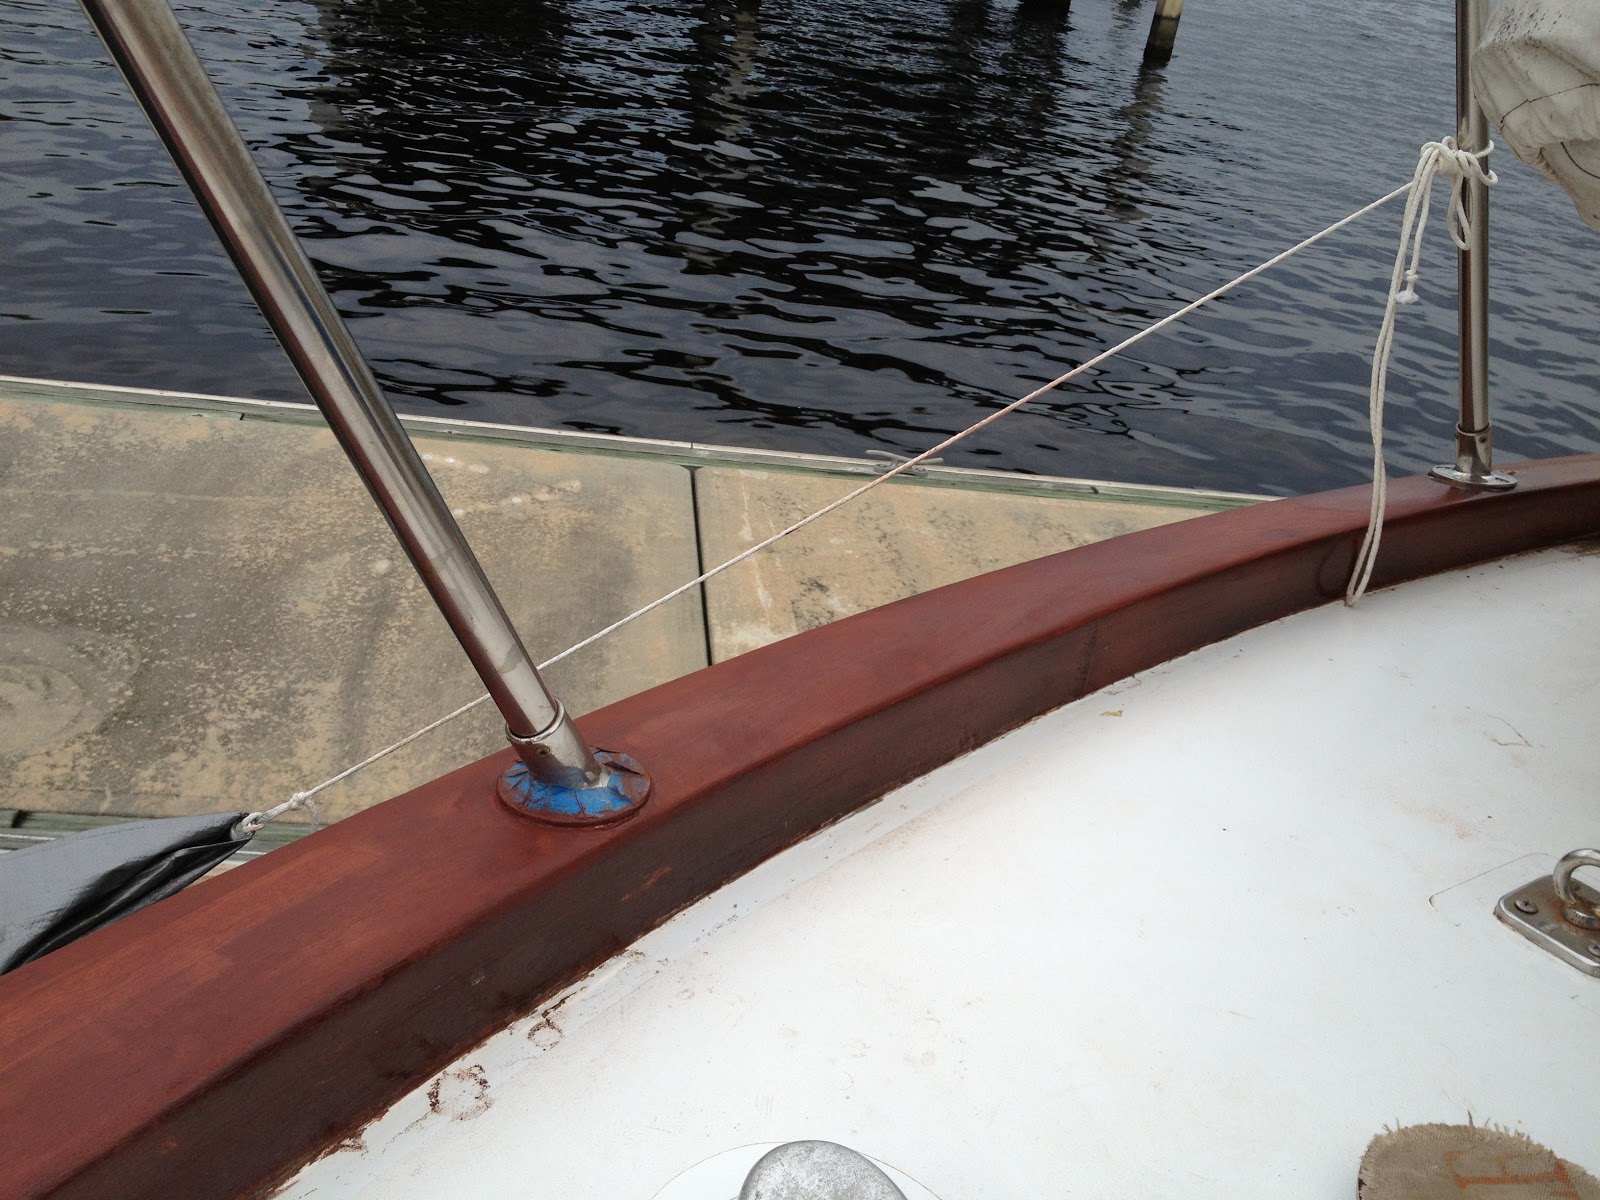
Starboard toerail after Pettit 2018 Clear Sealer.


Port toerail after application of Pettit 2018 Clear Sealer.


Another shot of the port rail.


May 10th - Total Time 1 hr

Staining Toerail


     Back on the 7th of May, I applied a trial run on the staining, thinking that some of the smaller voids would be filled with this product - Interlux Interstain.  However, after application and wait time, it was clear that what I was dealing with was a staining product only meant to fill the grain - making subsequent varnish work that much easier.  The product is not meant to be a void filler, however small the void.  So, I removed the trial application of Interstain, and proceeded to fill the smaller voids with an appropriate filler agent that accepts staining.

Bow rail post-stain.


     After I removed the trial application of Interstain, I sanded down to wood, wiped the surfaces with solvent to remove any trace contaminants, and generally prepared for filling the voids.   After applying the void filler, on the 10th of May, I came back the following day to fair the surface and prepare for staining - sorry, no picture of prepared surfaces.  The staining process involved preparing the Interlux Interstain by reducing with Interlux reducing Solvent 2333N until you get a paint consistency that is closer to water in viscosity.

Again, bow rail post-stain.

The Interstain was then brushed on the prepared toerail surface, and then immediately wiped off.  As I worked the toerail surfaces, I rubbed the stain into the wood with adequate pressure so as to "drive" the stain into the wood grain.  The process went well, with a good color blending of the undamaged toerail with that of the damaged portions of the toerail - bow, and trailing  six to seven feet both port and starboard.  The picture below shows the forward portion of the port toerail after application of Interlux Interstain.


The picture below shows the aft portion of the damaged port toerail after application of Interlux Interstain.  Just beyond the handrail stanchion, you can see the stained portioned blending into the still varnished portion of the port toerail.  The color blend is very good, and will be seamless once varnished. 


The picture below shows the forward portion of the starboard toerail after application of Interlux Interstain.


The picture below shows the aft portion of the damaged starboard toerail after application of Interlux Interstain.  Just this side of the handrail stanchion in the right of the photo, you can see the stained portioned blending into the still varnished portion of the starboard toerail.  Again, the color blend is very good, and will be seamless once varnished. 


To cap the work session off....a nice sunset on the Ortega River.


May 7th, 10th, and 11th - Total Time 4.5 hrs

Finishing Up Patch Install


      Over the course of three days in April, the 24th through the 26th, I focused on getting the starboard dutchman patch in and faired to the existing surfaces.   As I had done for the prior dutchman patches, I began with the hand plane, and then graduated to a finish sander to bring the patch down to fair with the surrounding toerail.  Finally, I finished with hand sanding to ensure a seamless transition from the existing material to the new patch.


The damaged portion of Rhino's rails are now ready to receive filler for small voids, and for staining treatment.  The staining will bring the existing, weathered rails, as well as the dutchman patches, into color uniformity with the balance of the boat's toe and handrails. 


April 24th, 25th and 26th - Total Time 9 hrs